The Art of Astrophotography: Capturing Pin-Sharp Images of the Cosmos
Updated on
Published on
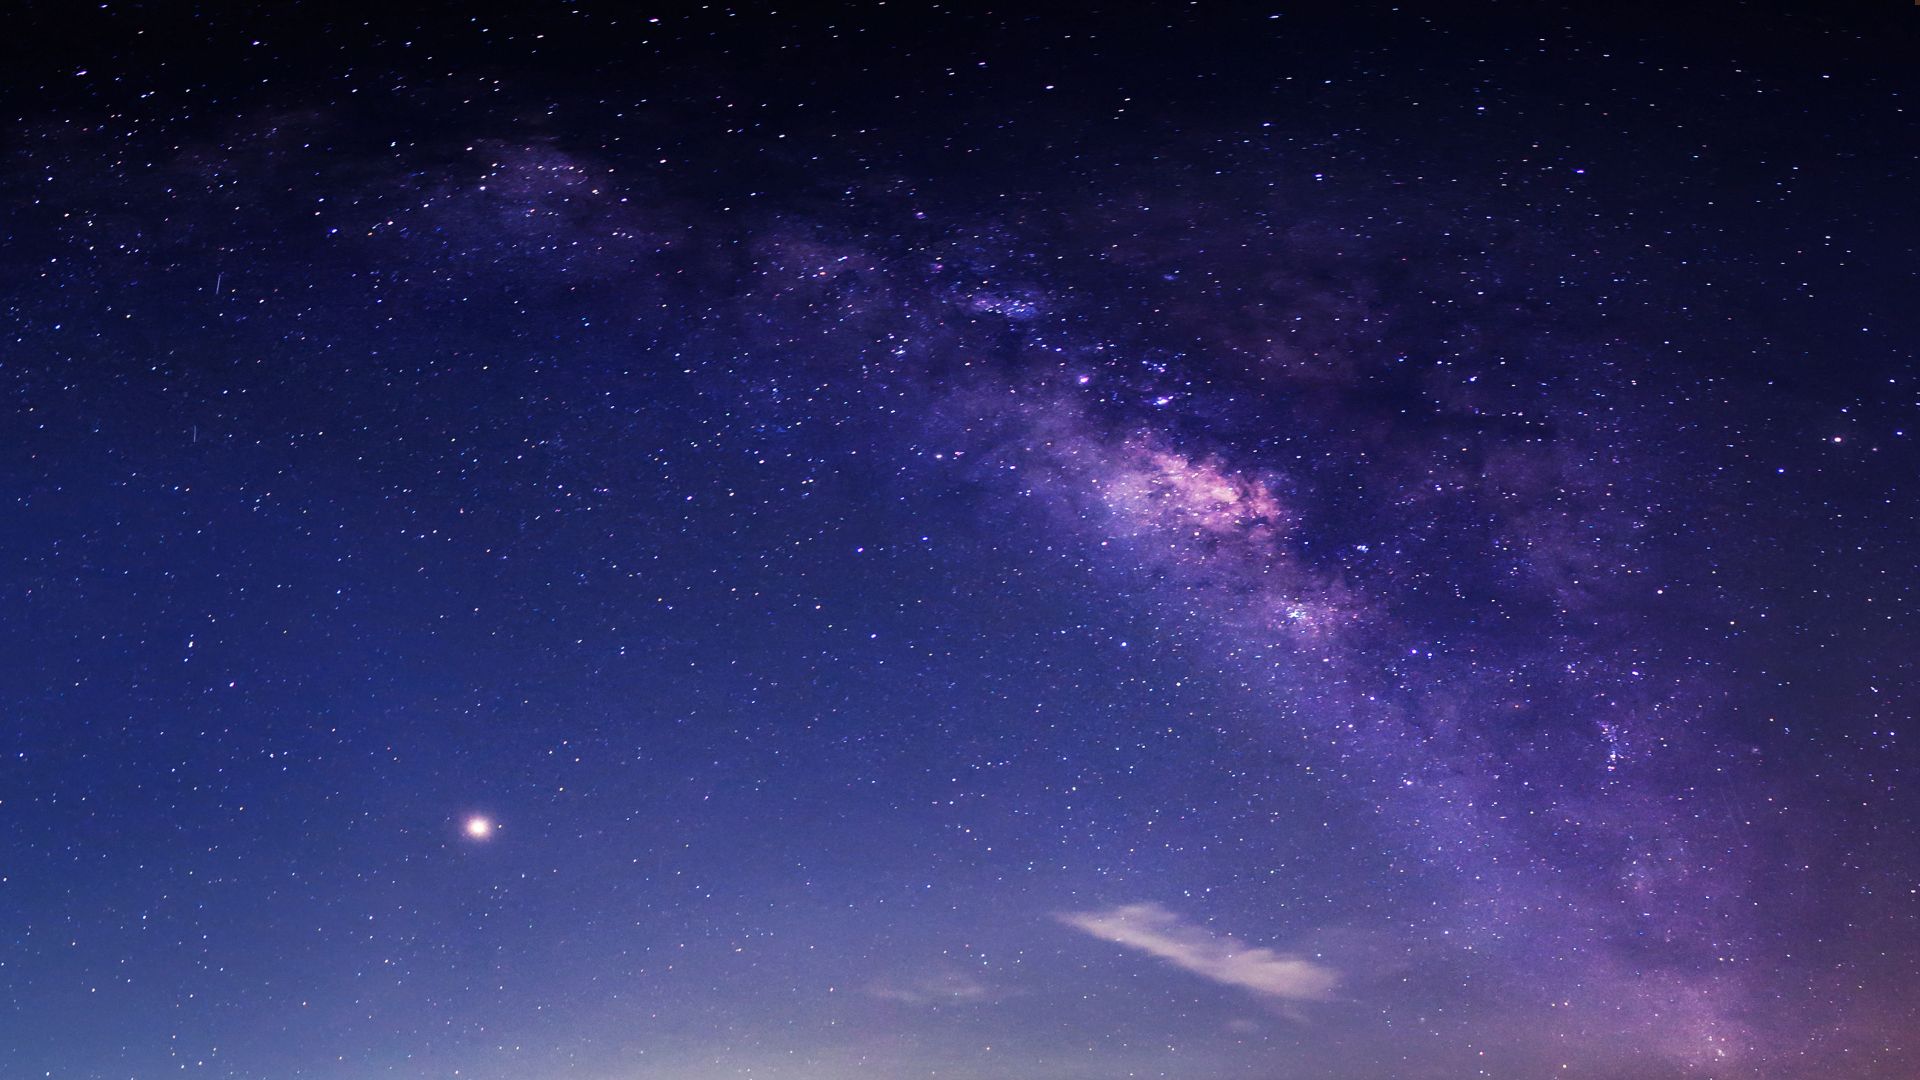
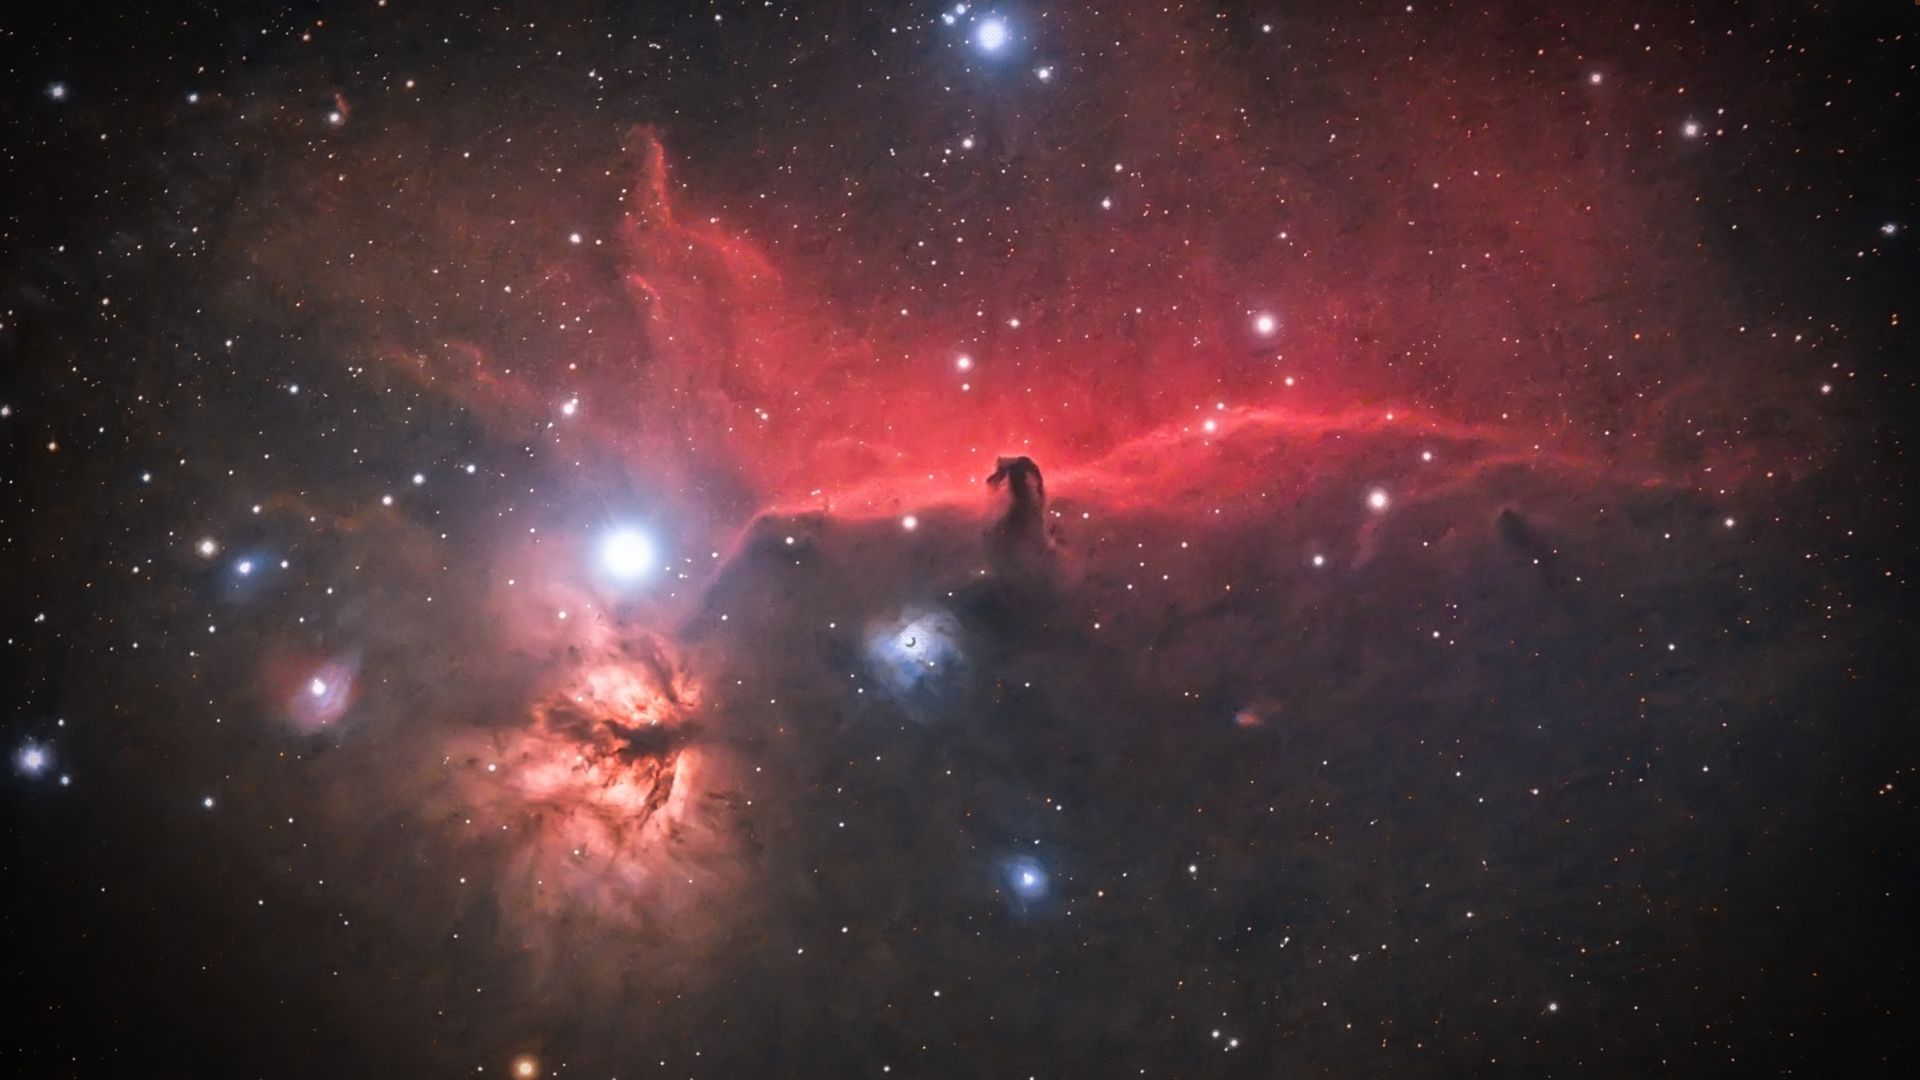
Have you ever gazed up at a clear night sky and felt a profound sense of wonder? The intricate details of a nebula or the faint, spiralling arms of a distant galaxy are a truly captivating sight. For many astronomy enthusiasts, the next logical step after visual observation is astrophotography—the art of capturing these celestial wonders on camera. It is a rewarding and beautiful pursuit, yet it has its fair share of challenges. From battling light pollution to managing atmospheric conditions, there is one particular hurdle that can be incredibly frustrating for amateurs and seasoned pros alike: achieving and maintaining perfect focus. A fraction of a millimetre out of place can mean the difference between a stunning, pin-sharp image and a blurry, indistinct mess. This blog post will guide you through the process of capturing those coveted sharp images and will introduce a tool that has transformed the hobby for many.

The Foundation - Your Astrophotography Kit
Before you can capture the cosmos, you have got to have the right kit. The most crucial part of your setup is, naturally, the telescope. There are two main types favoured by astrophotographers: refractors and reflectors. Refractors, with their lens-based design, are excellent for wide-field imaging, while reflectors, which use mirrors, are often the choice for capturing fainter, deep-sky objects. No matter the type, a stable, equatorial mount is also essential. This piece of equipment is responsible for tracking celestial objects as they move across the night sky, and any wobble will completely ruin a long exposure shot. Finally, you will need a camera. While many start with a regular DSLR, a dedicated cooled astro camera can be a game-changer, as it helps to reduce the image noise that often plagues long exposure shots.
The Core Challenge - The Problem with Focus
So, you have got your kit ready, but you are finding that your images are not coming out as crisp as you would like. Why is focusing such a tricky business in astrophotography? The issue is twofold. Firstly, manual focusing is an imprecise and often frustrating affair. Trying to dial in the perfect focus on a tiny star in the pitch black and cold is quite the challenge. Secondly, there is the problem of temperature drift. As the night gets colder, the materials in your telescope's tube contract. This tiny change in temperature can be enough to shift the focal point, causing your perfectly focused image to become soft and blurry over time. When you are taking exposures that can last for several hours, this issue can completely ruin a session and leave you with blurry images that lack the fine detail you are looking for.
The Game-Changer - Introducing the Electronic Automatic Focuser
Fortunately, there is a tool that has revolutionised this part of the process: the Electronic Automatic Focuser. This device is a motorised mechanism that attaches to your telescope's focus knob, allowing you to control the focus from a computer. By removing the need for manual adjustment, it solves both of the key issues. The benefits are quite clear. You get pinpoint precision, ensuring you are hitting the perfect focus every single time. It also allows for automated and remote control, which is incredibly useful as it means you do not have to touch the telescope at all, thereby avoiding any vibrations that could spoil the shot. The most impressive feature, however, is its ability to provide temperature compensation. By constantly monitoring the ambient temperature, the focuser can automatically make tiny adjustments to ensure the focus remains perfect throughout the entire imaging session. This means you can just get on with the business of capturing the cosmos.
A Step-by-Step Guide to a Pin-Sharp Astrophotography Session
With an Electronic Automatic Focuser as part of your kit, here is how a typical astrophotography session might run.
- Step 1: Setup. Set up your telescope and mount as you normally would. Make sure your focuser is securely attached and connected to your computer.
- Step 2: Rough Focus. Aim your telescope at a bright star and get a rough, initial focus. Do not worry about it being perfect just yet.
- Step 3: Automated Precision with the Focuser. Use your astrophotography software to initiate an autofocus routine. The focuser will take a series of images, adjust the focus, and then analyse the sharpness of the star, automatically dialling in the perfect focus for you. A Bahtinov mask can be used for initial calibration if needed.
- Step 4: The Imaging Session. Begin your imaging run. The focuser will now work in the background, keeping a watchful eye on the temperature and making tiny, automated adjustments as needed to maintain that perfect focus.
- Step 5: Post-Processing. You have got your perfectly focused images. Now you can get on with the fun part of stacking and processing them to reveal the stunning details hidden within.

Conclusion
Astrophotography is a rewarding but challenging hobby. While we all have to contend with things like light pollution and bad weather, focus does not have to be a major hurdle anymore. A tool like the Electronic Automatic Focuser transforms the experience, removing the faff and allowing you to concentrate on the art of capturing the cosmos rather than struggling with your equipment. So, if you are an aspiring astrophotographer who is tired of blurry images, it might be time to invest in a piece of kit that will help you capture the universe in stunning clarity. Happy shooting, and here is to clear skies!


webp.webp)
webp.webp)


